rope bondage tutorial
Rope Bondage: A Comprehensive Tutorial
Dive into the art of rope bondage! This tutorial explores materials, knots, safety, and techniques – from simple ties to Japanese Shibari. Prioritize communication and aftercare always.
Understanding Rope Materials
Selecting the right rope is paramount for both safety and aesthetic appeal in rope bondage. Atwood Rope exemplifies quality, crafting braided utility ropes globally for over 37 years, demonstrating the importance of a reliable source. While various materials exist, understanding their properties is crucial.
Natural fibers like jute, frequently used in Japanese Kinbaku (Shibari), offer a distinct visual texture and a traditional feel. However, jute has lower tensile strength and can cause more pronounced rope markings, necessitating careful attention to nerve sensitivity. Man-made fibers, such as nylon or polypropylene, provide greater strength and durability, reducing the risk of breakage during sessions.
Consider the rope’s diameter and texture. Thinner ropes allow for intricate patterns but require greater skill and awareness to avoid pressure points. Rougher textures can enhance sensation, while smoother ropes are gentler on the skin. Always inspect ropes for wear and tear before each use, discarding any that show signs of damage. The choice ultimately depends on the desired aesthetic, experience level, and safety considerations.
Types of Rope Commonly Used in Bondage
A diverse range of ropes caters to the varied preferences within rope bondage. Understanding their characteristics is key to informed selection. Jute rope, particularly favored in Shibari, presents a rustic aesthetic and is known for its visual appeal, though it demands heightened awareness of nerve sensitivity due to its texture.
Nylon rope stands out for its exceptional strength, elasticity, and resistance to abrasion, making it a versatile choice for both beginners and experienced practitioners. It’s less prone to breakage than natural fibers. Polypropylene rope offers a cost-effective alternative, being lightweight and buoyant, but it possesses lower tensile strength compared to nylon.
Cotton rope provides a softer touch, ideal for those prioritizing comfort and minimizing rope marks. However, it lacks the durability of synthetic options. Hemp rope, similar to jute, offers a natural look but requires careful inspection for weaknesses. Ultimately, the “best” rope depends on the specific application, desired sensation, and the practitioner’s skill level. Atwood Rope’s quality standards highlight the importance of reliable materials.
Essential Knots for Rope Bondage
Mastering a select repertoire of knots is fundamental to safe and effective rope bondage. The square knot, while seemingly simple, forms a secure base for many ties, though it’s crucial to understand its limitations – it can slip under heavy load if not properly dressed and tightened.
The figure-eight knot provides a robust stopper knot, preventing ropes from unraveling or slipping through hardware. It’s also a building block for more complex structures. Clove hitches are incredibly versatile for attaching ropes to posts or around limbs, offering adjustable security.
Bowlines create a fixed loop that won’t tighten under strain, ideal for creating secure anchor points. Learning variations like the Japanese bowline adds finesse. Beyond these basics, exploring more advanced knots like the diamond knot and various binding wraps expands creative possibilities. Remember, proper knot tying is paramount; a poorly tied knot can compromise safety and comfort. Consistent practice and verification are essential for building confidence and skill.
Basic Rope Safety Principles
Prioritizing safety is non-negotiable in rope bondage. Always begin with a thorough understanding of potential risks, including nerve compression, circulation restriction, and skin abrasions. Regularly check for signs of discomfort or distress in your partner – changes in skin color, numbness, or tingling are immediate red flags.
Never apply excessive force; ropes should be snug but not constricting. Avoid tying around the neck or restricting breathing in any way. Utilize padding, such as foam or cloth, to protect sensitive areas like wrists and ankles. Always have a readily accessible cutting tool – shears or a knife – within reach to quickly release the bonds in an emergency.
The “golden rule” dictates that the person being tied must always be able to signal for immediate release. Establish a clear safe word and ensure both partners understand its significance. Continuous communication and attentive observation are vital throughout the entire session. Remember, safety is not merely a checklist; it’s a mindset.
The “Golden Rule” of Rope Bondage
The “Golden Rule” is paramount: the tied person always has the ability to immediately halt the session. This isn’t a suggestion; it’s the foundational principle of safe rope bondage. Implement a clear, unambiguous safe word – something easily spoken, even under stress – and both participants must fully understand its meaning and authority.
The safe word overrides everything. No questions asked, no negotiation. Upon hearing the safe word, the tier immediately stops and begins untying, prioritizing the comfort and safety of the person tied. This rule fosters trust and empowers the submissive partner, ensuring they feel in control despite their physical restriction.
Regularly check in with your partner, even before asking for the safe word. Verbal cues and non-verbal signals should be encouraged. A simple “are you okay?” can go a long way. The Golden Rule isn’t just about emergency stops; it’s about creating a safe and consensual environment where boundaries are respected and communication is open.
Preparing for a Bondage Session
Thorough preparation is crucial for a safe and enjoyable bondage experience. Begin by selecting appropriate rope – natural fibers like jute (for Shibari) or durable synthetics for general use. Inspect the rope for any fraying or damage before each session; compromised rope can lead to injury.
Clear the space. Remove any objects that could cause harm during movement. Ensure a comfortable surface for the person being tied, perhaps with padding. Have readily available tools like scissors or a quick-release knife for emergencies, alongside a first-aid kit.
Discuss the session beforehand. Establish clear boundaries, desired positions, and the safe word. Consider any physical limitations or sensitivities your partner may have. A detailed discussion builds trust and ensures both participants are comfortable and informed. Finally, ensure easy access to water and maintain a comfortable room temperature.

Communication and Consent

Open and honest communication is the bedrock of safe, consensual rope bondage. Before, during, and after each session, maintain a dialogue with your partner. Explicit consent must be obtained for every act, and it can be withdrawn at any time – no questions asked.
Establish a clear “safe word.” This word signals an immediate stop to all activity. It’s vital that both partners understand and respect the safe word without hesitation. Regularly check in with your partner throughout the session, asking about their comfort level and sensations.
Non-verbal cues are also important. Pay attention to body language – signs of discomfort, strain, or distress. Encourage your partner to communicate openly about any pain or concerns. Remember, enthusiastic consent is key; silence or passivity does not equal agreement. Prioritize emotional safety alongside physical well-being.
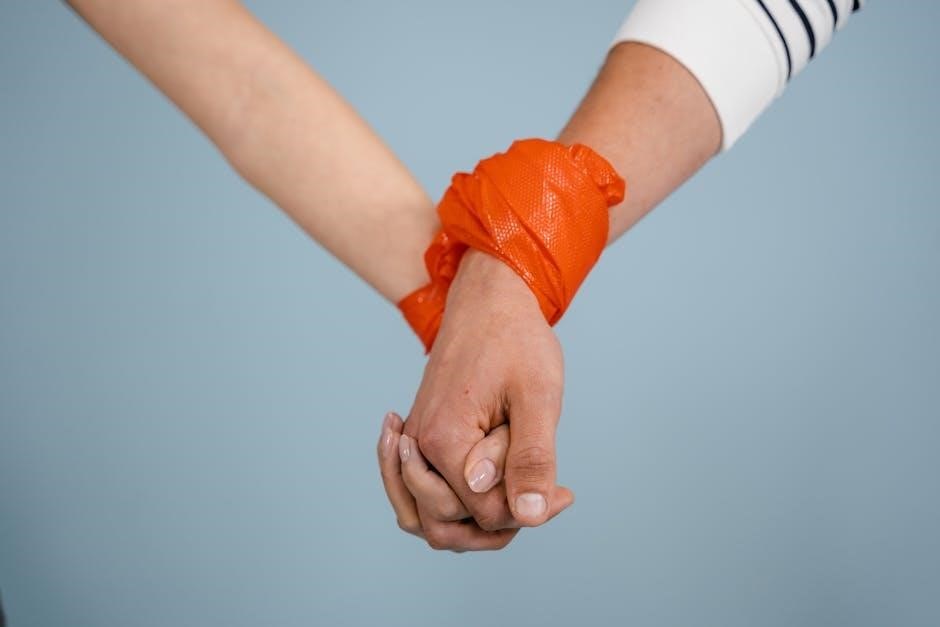
Simple Wrist and Ankle Ties
Begin with foundational ties to build confidence and skill. The single column tie is excellent for wrists, utilizing a simple wrap and knot to secure the limbs. Ensure the rope isn’t overly tight, allowing for circulation and comfort. Regularly check for nerve compression.

For ankles, a variation of the wrist tie works well. Consider padding sensitive areas with soft materials to prevent rope burn. Practice achieving a secure, yet non-restrictive hold. Avoid tying directly over bony prominences.
Experiment with different knot types, such as the square knot or reef knot, for added security. Remember to leave enough slack to allow for movement and prevent injury. Always prioritize safety and comfort over complexity. These basic ties serve as building blocks for more intricate bondage patterns.
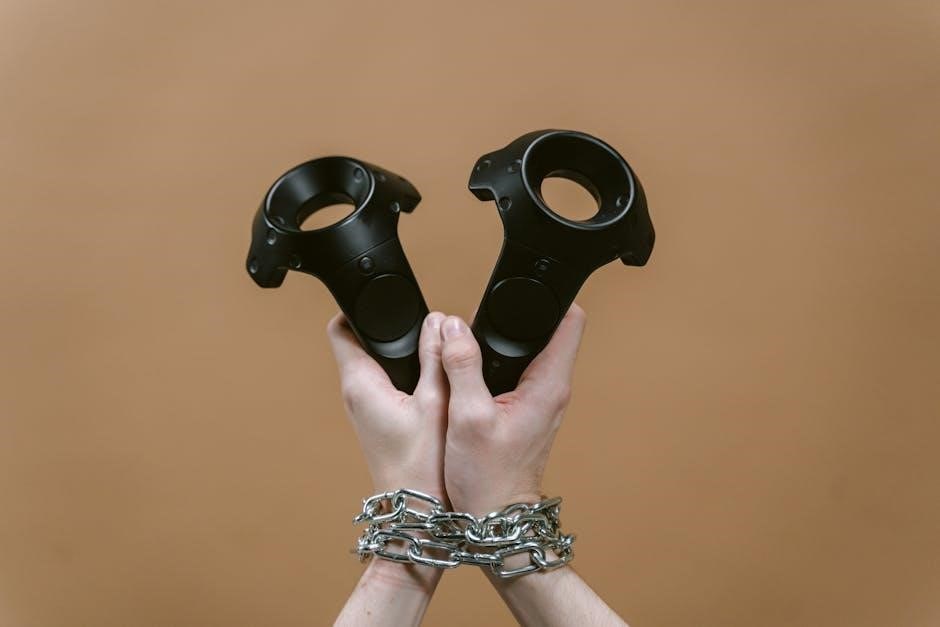
Hogtie: A Classic Bondage Position
The hogtie is a historically significant, yet potentially risky, bondage position. It involves bringing the ankles up to the wrists and securing them together, creating a bound posture. Due to its restrictive nature, extreme caution and thorough understanding are paramount.
Proper padding is absolutely crucial to prevent nerve damage and circulatory issues, particularly behind the knees and at the wrists. Use ample cushioning and regularly monitor the tied individual for signs of discomfort or distress. Communication is key throughout the process.

Begin with loose ties, gradually tightening as needed, always prioritizing safety. Never leave someone hogtied unattended. This position can quickly become dangerous if not executed correctly. Consider alternative, less restrictive positions if there’s any hesitation or concern. Experienced practitioners only should attempt this tie.
Kinbaku, often referred to as Shibari, is a traditional Japanese art of rope bondage. It transcends mere restraint, focusing on aesthetics, sensation, and the interplay between rope and body. Unlike purely functional bondage, Shibari emphasizes visual patterns and the creation of a living sculpture.
Typically, thin jute rope is employed, allowing for intricate designs and detailed work. The practice involves a deep understanding of anatomy, particularly nerve pathways, to create specific sensations without causing harm; Shibari artists often spend years mastering the complex techniques.
It’s considered more artistic and sensual than other forms of bondage, with a strong emphasis on communication and trust between the rigger (the person tying) and the model (the person being tied). Safety is paramount, requiring careful attention to pressure points and circulation. Shibari is a journey of exploration, requiring respect and dedication.
Understanding Nerve Sensitivity and Rope Markings
A crucial aspect of safe rope bondage is understanding nerve sensitivity. Nerves near the surface of the skin are easily affected by pressure, leading to discomfort or even temporary paralysis. Areas like wrists, ankles, and the neck require particular caution. Consistent monitoring during a session is vital.
Rope markings, or welts, are a common result of pressure from the rope. Their appearance depends on skin sensitivity, rope material, and the amount of pressure applied. Red marks are generally harmless and fade quickly, but deeper bruising indicates excessive force.
Prioritize communication with your partner. Regularly check for sensation and ask about comfort levels. Avoid prolonged pressure on any single point. Learn to recognize the difference between pleasurable sensation and warning signs of nerve compression. Proper technique and awareness minimize the risk of lasting damage, ensuring a safe and enjoyable experience for both parties.

Post-Bondage Aftercare
Following a rope bondage session, diligent aftercare is paramount. Begin by slowly and carefully removing the ropes, allowing circulation to return gradually. Avoid rushing this process, as sudden release can cause discomfort or even dizziness.
Inspect the skin for rope marks. Mild redness is typical and usually subsides within hours. More pronounced bruising requires monitoring; apply cool compresses to reduce swelling. Encourage your partner to report any lingering numbness, tingling, or pain immediately.
Hydration and gentle massage can aid recovery. Drinking water helps restore fluid balance, while light massage promotes blood flow to the affected areas. Discuss the experience openly, addressing any concerns or discomfort. Prioritize emotional well-being alongside physical care, fostering trust and open communication for future sessions. Remember, attentive aftercare demonstrates respect and ensures a positive experience.
Recognizing and Addressing Potential Risks
Rope bondage, while exhilarating, carries inherent risks demanding careful attention. Nerve compression is a primary concern; prolonged pressure can cause numbness, tingling, or even temporary paralysis. Regularly check for signs of compromised circulation – discoloration, coldness, or loss of sensation.
Skin abrasions and rope burn are also possible. Use padding where ropes contact the skin, and avoid excessive tightness. Be vigilant for allergic reactions to rope materials, particularly natural fibers like jute. Always have a readily accessible cutting tool to quickly release ropes in an emergency.
Psychological distress can occur if boundaries are crossed or communication fails. Establish clear safe words and respect them unconditionally. Prioritize consent and ongoing check-ins throughout the session. If either partner feels uncomfortable or unsafe, stop immediately. Recognizing these potential risks and proactively addressing them is crucial for a safe and enjoyable experience.
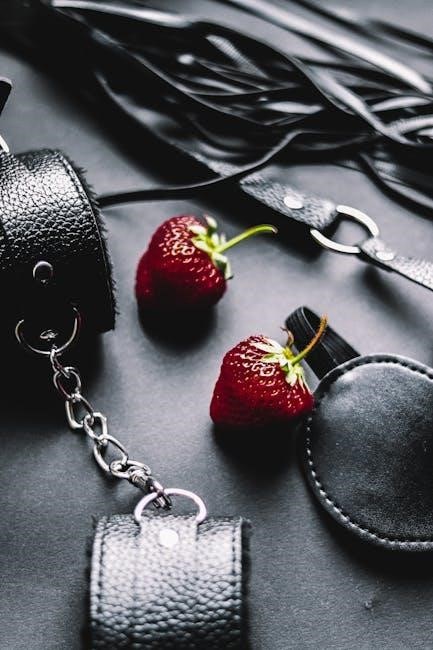
Tools and Accessories for Rope Bondage
Beyond the rope itself, a variety of tools enhance the bondage experience. Sharp, dedicated cutting tools – like a seam ripper or specialized rope shears – are essential for swift release in emergencies. Padding, such as foam or gel pads, protects sensitive areas from rope pressure and abrasion, increasing comfort and safety.
Various restraints can add complexity and visual appeal. These include cuffs, gags, and blindfolds, but always prioritize consent and safety when incorporating them. A comfortable and supportive suspension frame can elevate bondage to new levels, but requires extensive training and safety precautions.
Consider using specialized rope lubricants to reduce friction and protect the rope fibers. Atwood Rope, known for quality braided utility rope, offers durable options. Finally, a well-organized kit with all necessary tools readily accessible streamlines the process and ensures a smooth, safe session. Remember, quality tools contribute to a more refined and secure practice.

Improvisation and Adapting Techniques
While mastering foundational knots is crucial, the true artistry of rope bondage lies in improvisation. Situations often demand adapting techniques on the fly, requiring a keen understanding of rope dynamics and anatomy. Don’t be afraid to modify established ties to suit your partner’s body or preferences, always prioritizing comfort and safety.
Sometimes, a “rope-by-feel” approach is necessary, especially when working with unique body shapes or unexpected challenges. This involves carefully observing your partner’s reactions and adjusting the tension and placement of the rope accordingly. Remember the image of “grabbing a rope” in a desperate situation – adaptability is key!
Experiment with different rope materials and thicknesses to achieve varied textures and sensations. Utilize available resources – like furniture or secure anchor points – creatively, but always ensure stability. Improvisation isn’t about abandoning safety; it’s about applying your knowledge flexibly and responsively to create a unique and pleasurable experience.
Resources for Further Learning
Embarking on a rope bondage journey is a continuous learning process. Beyond this tutorial, numerous resources exist to deepen your understanding and refine your skills. Several books introduce the basics of rope, detailing fun ties with clear instructions, serving as excellent starting points for beginners.
For those drawn to the artistic nuances of Japanese Kinbaku (Shibari), dedicated workshops and online communities offer invaluable insights. These resources emphasize aesthetics, nerve sensitivity, and the intricate patterns characteristic of this discipline. Explore online forums and platforms where experienced practitioners share knowledge and offer guidance.
Prioritize safety education. Documents detailing safety guides for rope bondage practice are readily available, outlining the “golden rule” and crucial aftercare procedures. Atwood Rope, a leading manufacturer, provides quality materials and expertise. Remember, continuous learning and responsible practice are paramount to a fulfilling and safe experience.