keihin carburetor manual pdf
The Keihin Carburetor Manual PDF is a valuable resource for professionals and enthusiasts, offering detailed guidance on troubleshooting, maintenance, and tuning for optimal performance and safety.
Overview of the Keihin Carburetor
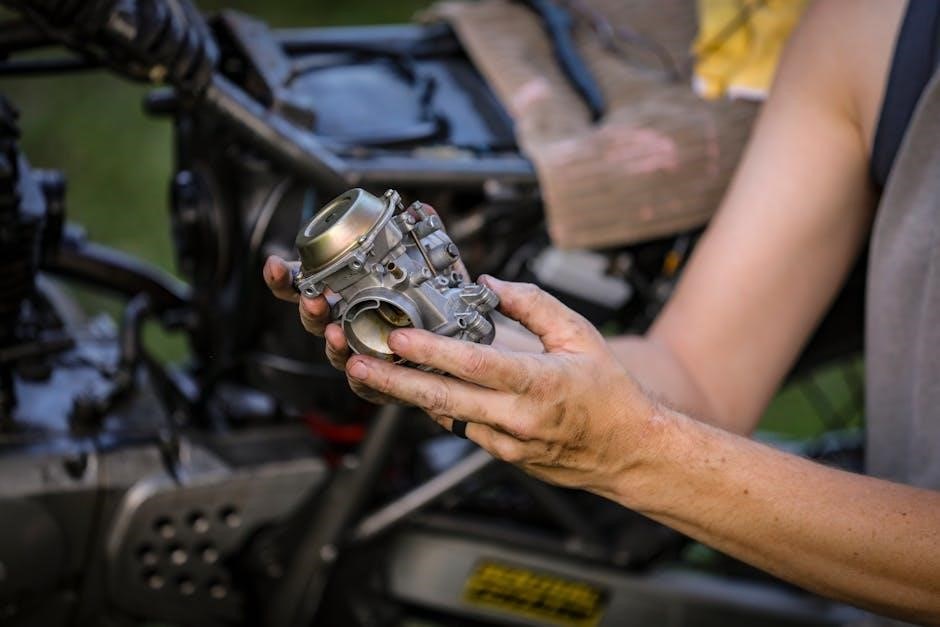
The Keihin carburetor is a high-performance component designed for precision fuel delivery in motorcycles. Known for its reliability and efficiency, it is widely used in various models, including the CVK32 and PD22. The carburetor features a slide-valve system that ensures smooth power delivery and responsive throttle control. Its design allows for easy tuning and adjustment, making it popular among both recreational riders and professional racers. The Keihin carburetor is also favored for its lightweight construction and durability, ensuring optimal performance under diverse riding conditions.
Importance of the Manual for Maintenance and Repair
The Keihin carburetor manual is essential for effective maintenance and repair, providing detailed instructions and diagrams to ensure proper servicing. It covers troubleshooting common issues like contamination and adjustment problems, offering step-by-step solutions. The manual also includes exploded views and parts lists, making it easier to identify and replace components. By following the guide, users can avoid costly mistakes and ensure safety during repairs. Regular maintenance as outlined in the manual helps maintain optimal performance and extends the carburetor’s lifespan, preventing premature wear and tear.
Maintenance and Repair Guidelines
The Keihin carburetor manual provides step-by-step instructions for cleaning, disassembly, and inspection, ensuring proper function and longevity. Regular maintenance prevents contamination and ensures optimal performance.
Cleaning and Disassembly of the Carburetor
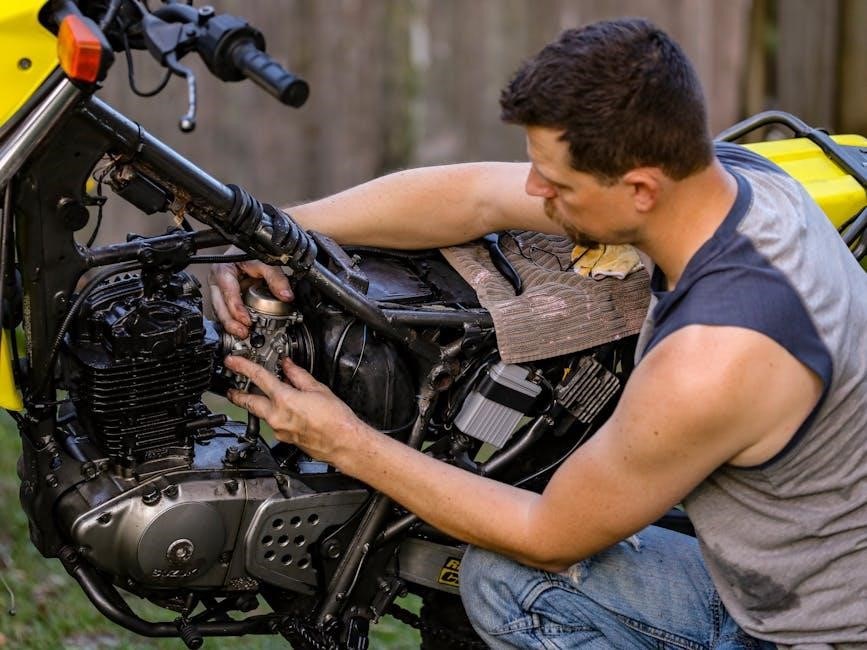
Cleaning and disassembling the Keihin carburetor requires careful attention to detail. Start by removing the float bowl and jets, then soak components in a solvent. Use compressed air or ultrasonic cleaning for thorough removal of dirt and debris. Avoid damaging sensitive parts like the float needle or throttle valve. Proper cleaning ensures smooth operation and prevents contamination. Always refer to the manual for specific disassembly steps and safety precautions to avoid component damage during the process.
Inspection and Reassembly of Carburetor Components
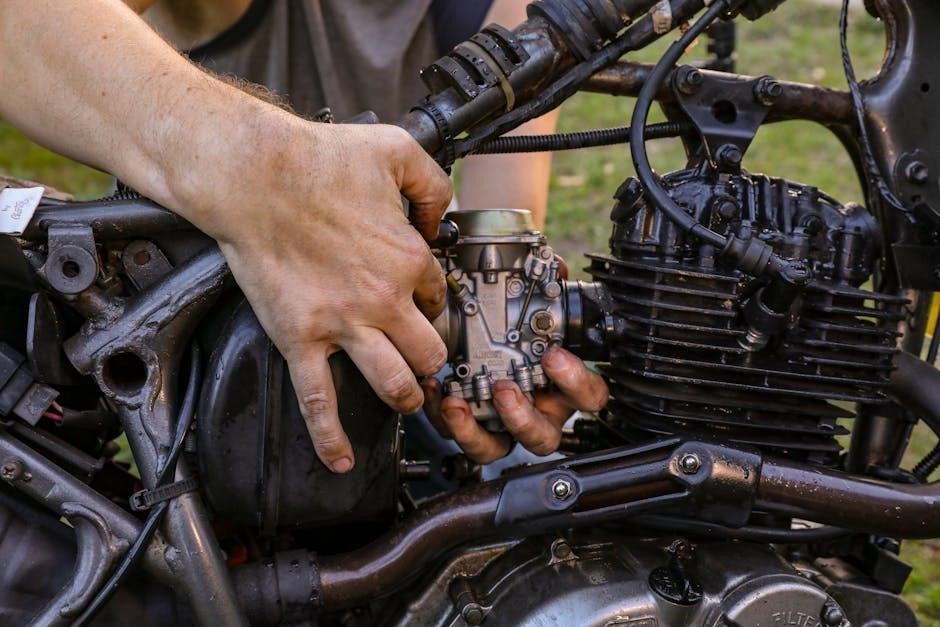
After cleaning, inspect all components for wear, dirt, or damage. Replace any faulty parts, such as worn-out gaskets or jets. Reassembly begins with the float chamber, ensuring proper alignment and sealing. Install jets and adjust the float height as specified. Lubricate moving parts lightly and reattach the throttle valve, ensuring smooth operation. Tighten all screws and bolts in the recommended sequence to avoid warping. Refer to the manual for model-specific torque values and reassembly steps to ensure accuracy and prevent leaks during reinstallation.
Troubleshooting Common Issues
Identify symptoms like poor engine performance, rough idling, or decreased power. Consult the manual to diagnose issues such as contamination, faulty adjustments, or component failure.
Identifying Symptoms of Carburetor Problems
Common symptoms include poor engine performance, rough idling, or decreased power. Look for signs like backfiring, hesitation, or difficulty starting the engine. The manual helps diagnose issues by linking these symptoms to specific problems such as contamination, improper float levels, or faulty jets. Regular inspection and adherence to maintenance guidelines can prevent these issues from escalating.
Diagnosing Contamination, Adjustment, and Component Failure
The manual provides detailed steps to identify contamination, such as dirt or fuel deposits, by inspecting components like jets and float chambers. It also guides adjustment issues, like incorrect float height or pilot screw settings, which can disrupt fuel flow. Component failure, such as worn-out gaskets or seals, is addressed through visual inspection and replacement procedures, ensuring accurate diagnosis and effective repair.
Tuning and Adjustment
Explains methods for tuning and adjusting Keihin carburetors, including float height, idle mixture, pilot screw, and proper throttle valve settings for optimal engine performance and fuel efficiency.
Adjusting Float Height and Idle Mixture
The Keihin carburetor manual provides detailed steps for adjusting the float height and idle mixture to ensure proper fuel flow and engine performance; Using a screwdriver, the float height is set by gently bending the float tab to achieve the specified measurement. For the idle mixture, turning the adjustment screw clockwise or counterclockwise fine-tunes the air-fuel ratio. Proper adjustment is critical for smooth idling, efficient combustion, and preventing damage from running rich or lean. Always refer to the manual for precise specifications.
Setting the Pilot Screw and Throttle Valve
Adjusting the pilot screw and throttle valve is crucial for optimal engine performance. Start by setting the pilot screw to the manufacturer’s recommended baseline, typically 2-1/8 turns for Keihin CVK32 models. Gently turn the screw clockwise to reduce fuel flow or counterclockwise to increase it, monitoring idle quality. For the throttle valve, ensure proper synchronization and alignment with the carburetor bore. Avoid over-tightening, as this can damage the valve or seat. Adjustments should be made incrementally, testing the engine’s response at each step to achieve smooth operation across the throttle range.
Replacement Parts and Kits
Keihin carburetor repair kits provide essential components for overhaul, including gaskets, jets, and screws. Ensure parts match your specific model for proper functionality and performance.
Identifying the Correct Parts for Your Carburetor Model
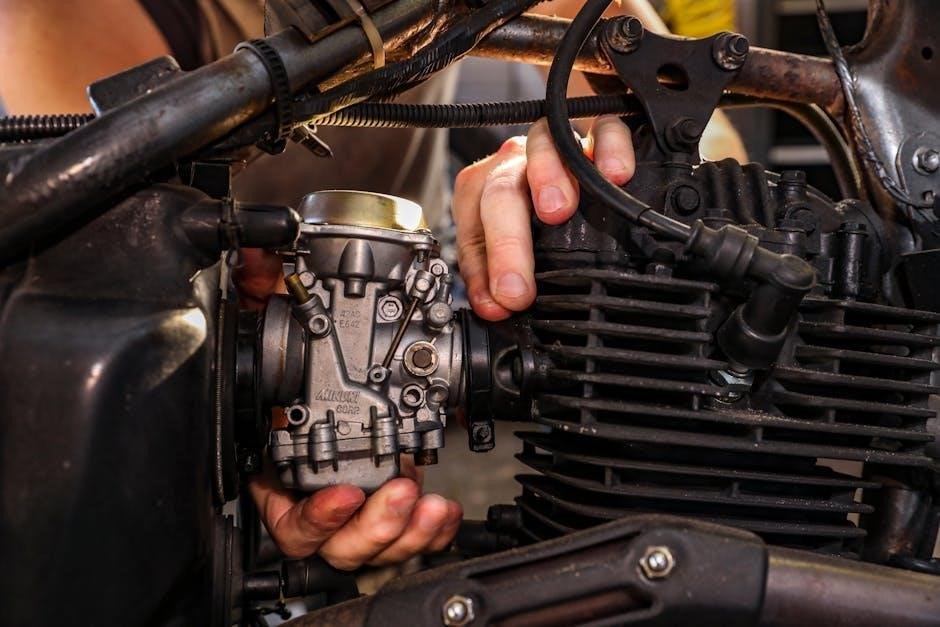
Correctly identifying parts for your Keihin carburetor model is crucial for proper functionality. Refer to the exploded view diagrams and parts lists provided in the manual to ensure accuracy. Models like the CVK32, PD22, FCR, and PE have specific components, such as jets, gaskets, and screws. Cross-reference the part numbers with the manual to avoid mismatches. Using the wrong parts can lead to performance issues or damage. Always consult the technical specifications for your exact model before purchasing or installing replacement parts.
Using Repair Kits for Overhaul and Replacement
Repair kits are essential for overhauling and replacing worn-out carburetor components. These kits typically include gaskets, jets, screws, and other essential parts tailored to specific models like the CVK32 or PD22. Always follow the manual’s instructions for proper installation to ensure optimal performance. Using genuine Keihin repair kits guarantees compatibility and reliability. Regular maintenance with these kits helps restore your carburetor to its original functionality, ensuring smooth engine operation and peak performance.
Additional Resources and References
The Keihin Carburetor Manual PDF is available online, featuring exploded diagrams and parts lists. It covers models like CVK32 and PD22, but check your specific carburetor’s technical pages for precise details.
Accessing the Keihin Carburetor Manual PDF Online
The Keihin Carburetor Manual PDF is widely available online for free download. It provides comprehensive instructions for maintenance, troubleshooting, and tuning. The document covers various models, including the CVK32 and PD22, ensuring compatibility with different carburetors. Detailed exploded diagrams and parts lists are included for clarity. Users are advised to verify their specific carburetor model before downloading, as some manuals may cover multiple versions. Free PDF downloads are accessible, though larger files may require patience to load completely.
Exploded View Diagrams and Parts Lists
Exploded view diagrams in the Keihin Carburetor Manual PDF provide detailed visual representations of carburetor components, aiding in disassembly and reassembly. These diagrams cover models like FCR, PWK, and PE, ensuring clarity for specific carburetors. Comprehensive parts lists are included, listing every component with corresponding item numbers. This makes it easy to identify and purchase replacement parts. The diagrams are essential for understanding the carburetor’s structure and ensuring accurate repairs. They are particularly useful for visual learners and professionals seeking precise guidance.
Model-Specific Instructions
The manual provides tailored instructions for Keihin CVK32, PD22, FCR, and PE models, ensuring accurate maintenance and repair tailored to each carburetor’s unique specifications and requirements.
Guidelines for Keihin CVK32 and PD22 Models
The Keihin CVK32 and PD22 models require specific adjustments, such as setting the pilot screw and float height. The CVK32 manual emphasizes tuning for optimal performance, while the PD22 includes detailed part lists and repair kits. Both models stress the importance of precise calibration to avoid issues like backfiring or uneven fuel flow. Always refer to the exploded diagrams and technical specifications provided in the manual for accurate maintenance and repair procedures tailored to your carburetor model.
Special Considerations for FCR and PE Models
Keihin FCR and PE models require careful handling due to their high-performance design. The FCR features a slide valve system needing precise adjustment, while the PE model includes additional components for emission control. Regular ultrasonic cleaning is recommended for FCR carburetors to maintain optimal function. For PE models, ensure all gaskets and seals are inspected during maintenance to prevent vacuum leaks. Always consult exploded diagrams specific to these models for accurate part identification and repair procedures.
Safety Precautions and Best Practices
Always wear protective gear and work in a well-ventilated area when servicing carburetors. Follow manual instructions closely to avoid component damage and ensure safe operations.
Essential Safety Tips for Carburetor Service
Always wear protective gear, including gloves and safety glasses, when servicing carburetors. Work in a well-ventilated area to avoid inhaling harmful fumes. Never stretch or force springs, as this can lead to component failure. Handle sharp edges and small parts with care to prevent injury. Ensure the carburetor is completely drained of fuel before disassembly. Follow the manual’s instructions precisely to avoid damaging sensitive components. Regularly inspect tools and equipment for wear to maintain safety and accuracy during repairs.
avoiding Common Mistakes During Maintenance
Avoiding Common Mistakes During Maintenance
Avoid over-tightening screws, as this can damage threads and compromise the carburetor’s performance. Never force parts together, as this may lead to breakage. Handle components gently to prevent scratching or bending. Do not stretch springs, as this can alter their tension and affect functionality. Always use the correct tools and reference the manual for specific torque values. Ensure all parts are clean and free from debris before reassembly. Avoid mixing old and new gaskets, as this can cause leaks. Properly align components during reassembly to maintain precise operation.
The Keihin Carburetor Manual PDF provides essential guidance for optimal performance and longevity. By following its instructions, users can ensure safe and effective maintenance and tuning of their carburetors.
Final Thoughts on Using the Keihin Carburetor Manual
The Keihin Carburetor Manual PDF serves as a vital tool for enthusiasts and professionals, offering comprehensive guidance for maintenance, troubleshooting, and tuning. Specific models, such as the CVK32 and PD22, are covered in detail, ensuring users can address their unique needs. The manual emphasizes safety, proper diagnostics, and the use of exploded diagrams for accurate repairs. By following its instructions, users can achieve optimal performance, extend the lifespan of their carburetors, and ensure reliable operation of their engines.
Encouragement to Follow the Guide for Optimal Performance
Adhering to the Keihin Carburetor Manual PDF ensures optimal performance, longevity, and reliability of your carburetor. By following the outlined procedures, you can avoid common pitfalls and achieve precise tuning. Regular maintenance and proper adjustments will enhance fuel efficiency and engine responsiveness. Whether you’re working on a CVK32 or PD22 model, the guide provides tailored advice to help you maximize your carburetor’s potential. Invest time in understanding and applying these instructions for a smoother, more efficient ride.